I have read alot about how a lightbox can help you take more professional pictures. You can buy them online for about $30 and up, but being a thrifty person I hated to spend the money! I also found blogs describing how to make your own out of a cardboard box. But they had one drawback - you also had to cover the brown cardboard that was left with white paper, taking more time & effort than I wanted to expend.
But then I remembered I had several sheets of white coreboard - why not make my own box with them? So that's what I did.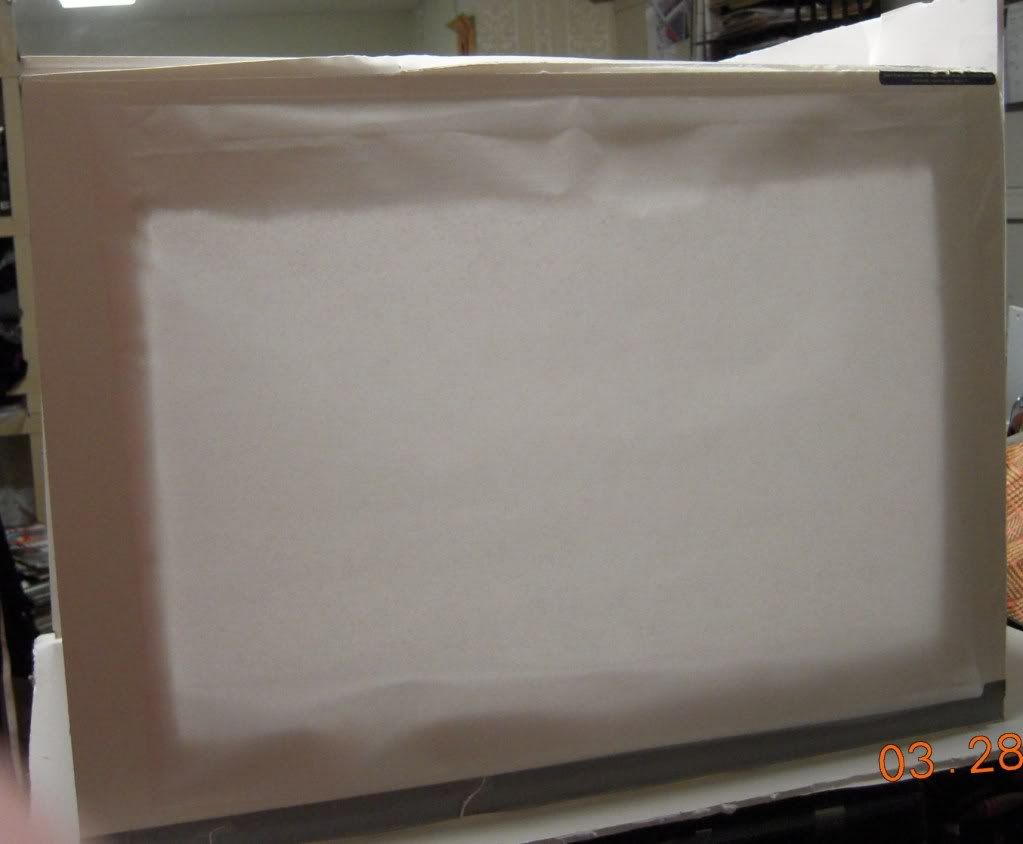
I had 3 pieces of coreboard that were 20 inches X 15 inches (coreboard is also known as foamcore or foamboard.) You can find it at Walmart, office supply & art stores. that were 20 inches X 15 inches. So I used an X-acto knife to cut out the center of each piece leaving about 2-3 inches around the edges. Then I taped parchment paper (the kind you line cookie sheets with) over each large opening. The three panels were then taped together with clear packing tape forming a top and two sides. I then taped a fourth panel to the back, and set the whole thing on top of another piece of coreboard. Viola - about 15 minutes for a very practical lightbox. When I am photographing light colored items, I slip a piece of black posterboard into the lightbox.
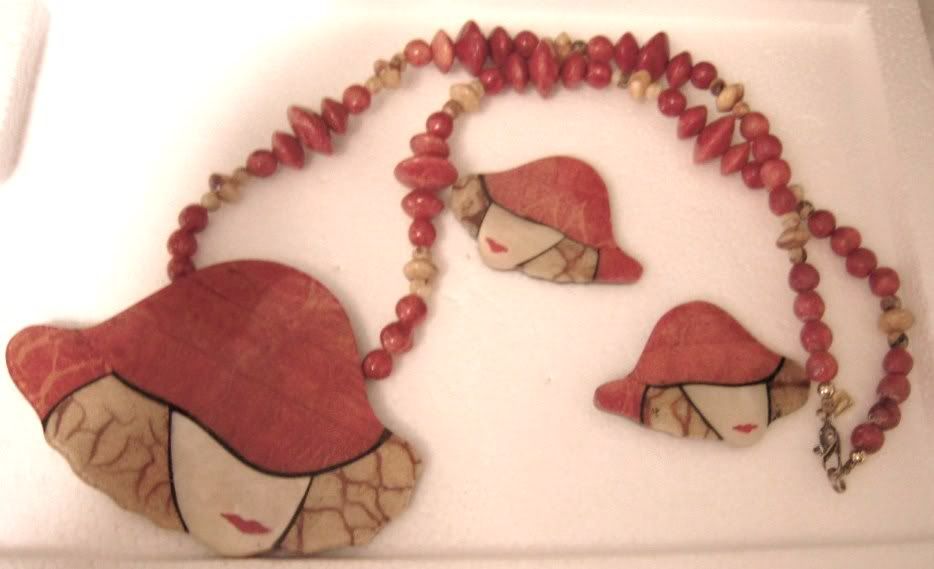
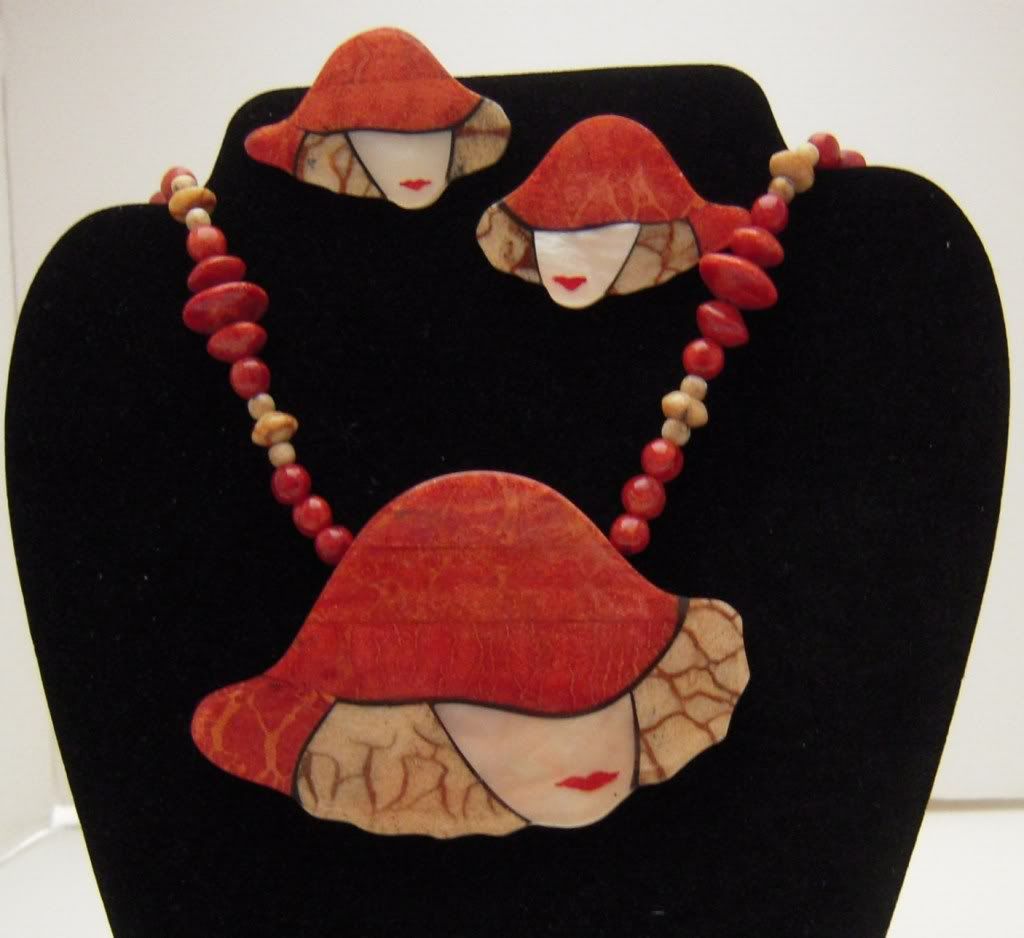
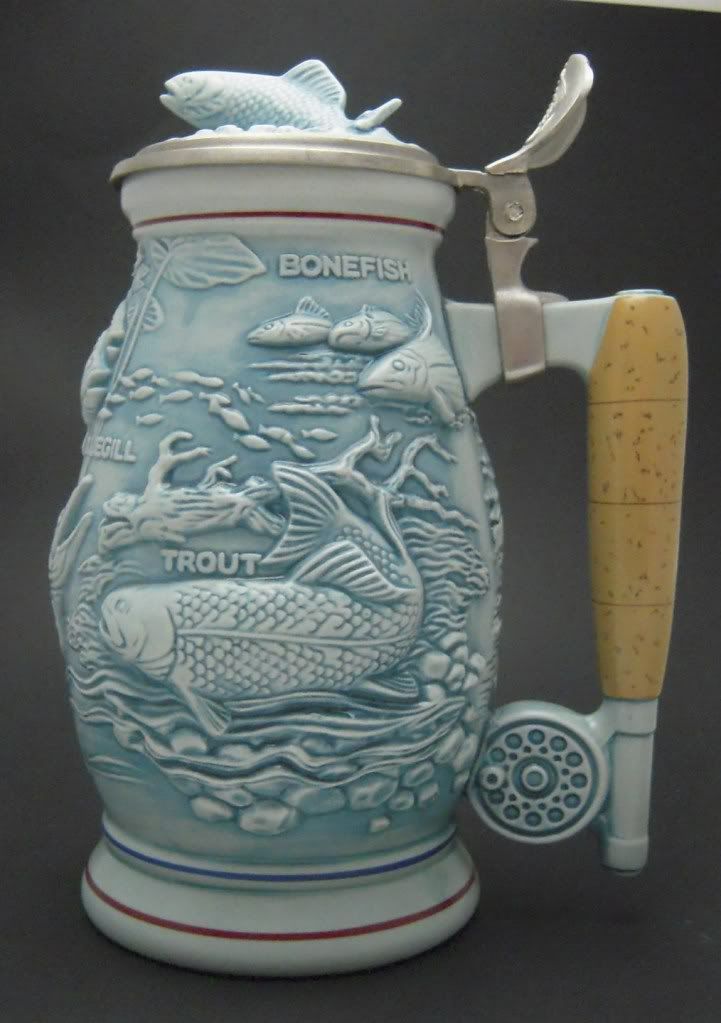
Below you can see a picture of a necklace set I took without the lightbox and the same set with the lightbox. The stein is another item with the picture taken inside the lightbox. No flash was used - the only lighting is from the overheard
flourescent light in my office!
http://www.addoway.com/donnasstuffmore/storefront/
http://pinterest.com/donnasstuffmore/
But then I remembered I had several sheets of white coreboard - why not make my own box with them? So that's what I did.
I had 3 pieces of coreboard that were 20 inches X 15 inches (coreboard is also known as foamcore or foamboard.) You can find it at Walmart, office supply & art stores. that were 20 inches X 15 inches. So I used an X-acto knife to cut out the center of each piece leaving about 2-3 inches around the edges. Then I taped parchment paper (the kind you line cookie sheets with) over each large opening. The three panels were then taped together with clear packing tape forming a top and two sides. I then taped a fourth panel to the back, and set the whole thing on top of another piece of coreboard. Viola - about 15 minutes for a very practical lightbox. When I am photographing light colored items, I slip a piece of black posterboard into the lightbox.
Below you can see a picture of a necklace set I took without the lightbox and the same set with the lightbox. The stein is another item with the picture taken inside the lightbox. No flash was used - the only lighting is from the overheard
flourescent light in my office!
http://www.addoway.com/donnasstuffmore/storefront/
http://pinterest.com/donnasstuffmore/
No comments:
Post a Comment